
Fixing white balance and exposure issues in Davinci Resolve
It is always best to aim to get the image as close as possible to the desired result during the filming, but sometimes it’s not possible due to time constraints or other challenges. Luckily, some of the common issues are easily fixed in post-production, and in his post, we share tips on efficiently fixing white balance and exposure issues in Davinci Resolve.
Davinci Resolve has different color tools available but the best ones for white balance corrections are Offset and HDR Global wheels. The reason for using these tools as opposed to Lift, Gamma, and Gain controls is that they affect the full tonal range and behave similarly to adjustments in the camera.
Take a look at the grayscale example, if we push the offset tool towards yellow the grayscale becomes yellow across all ranges but with Lift Gamma Gain the image is split into highlights, midtones, and shadows which requires more finesse to get the color right.
The same principle applies to exposure adjustments, the Offset tool is similar to changing the exposure in the camera by changing the aperture, ISO, or shutter speed, and lift gamma gain stretches or compresses the image based on tonal range.
The HDR wheel is a newer tool and behaves similarly to Offset except it doesn’t affect the deepest shadows. It can also be mapped to a camera's native color space for more accuracy.
Another important part is the order of operations for corrections. The white balance and exposure adjustment should be before the LUT when transforming the LOG image to working or delivery color space. This gives a cleaner result with fewer adjustments because the tonal range is narrow. The general rule for the node structure is white balance/general exposure adjustments should always come before the LUT or Color Space Transform, and lift, gamma, gain, masks, qualifiers and effects are after.
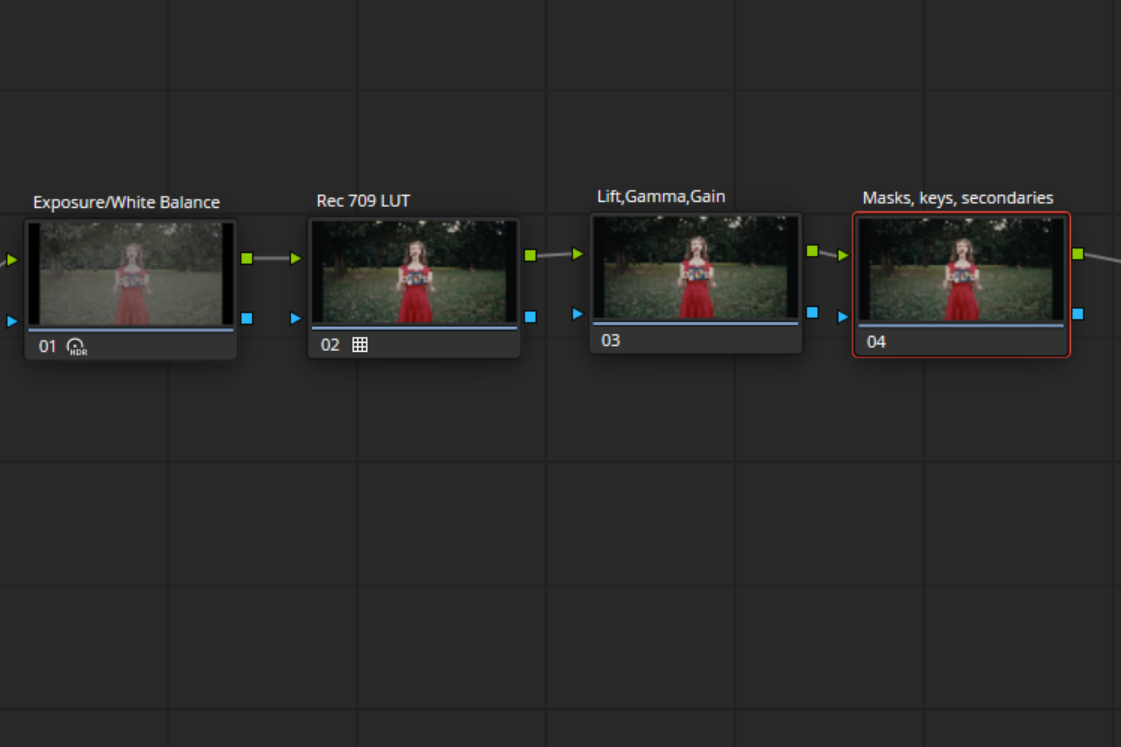
Node structure in Davinci Resolve
Here’s an example of a grayscale gradient with a blue color cast with offset adjustments to correct it toward neutral. There’s a difference between the correction before the LUT and after the LUT.
We can add more corrections to the after example but it’s a less efficient way of working.
Let’s take a look at real-world examples. This clip was filmed with a Sony A7S III camera in S-Log3.S-Gamut.cine. When the LUT is applied we can see that the color temperature is incorrect with a slight blue color cast. The color scopes show this as well.
I am pushing the Offset wheel toward yellow before the LUT which neutralizes the color cast. I can also bring down the exposure a bit because the model's face is too bright.
And here’s the result.
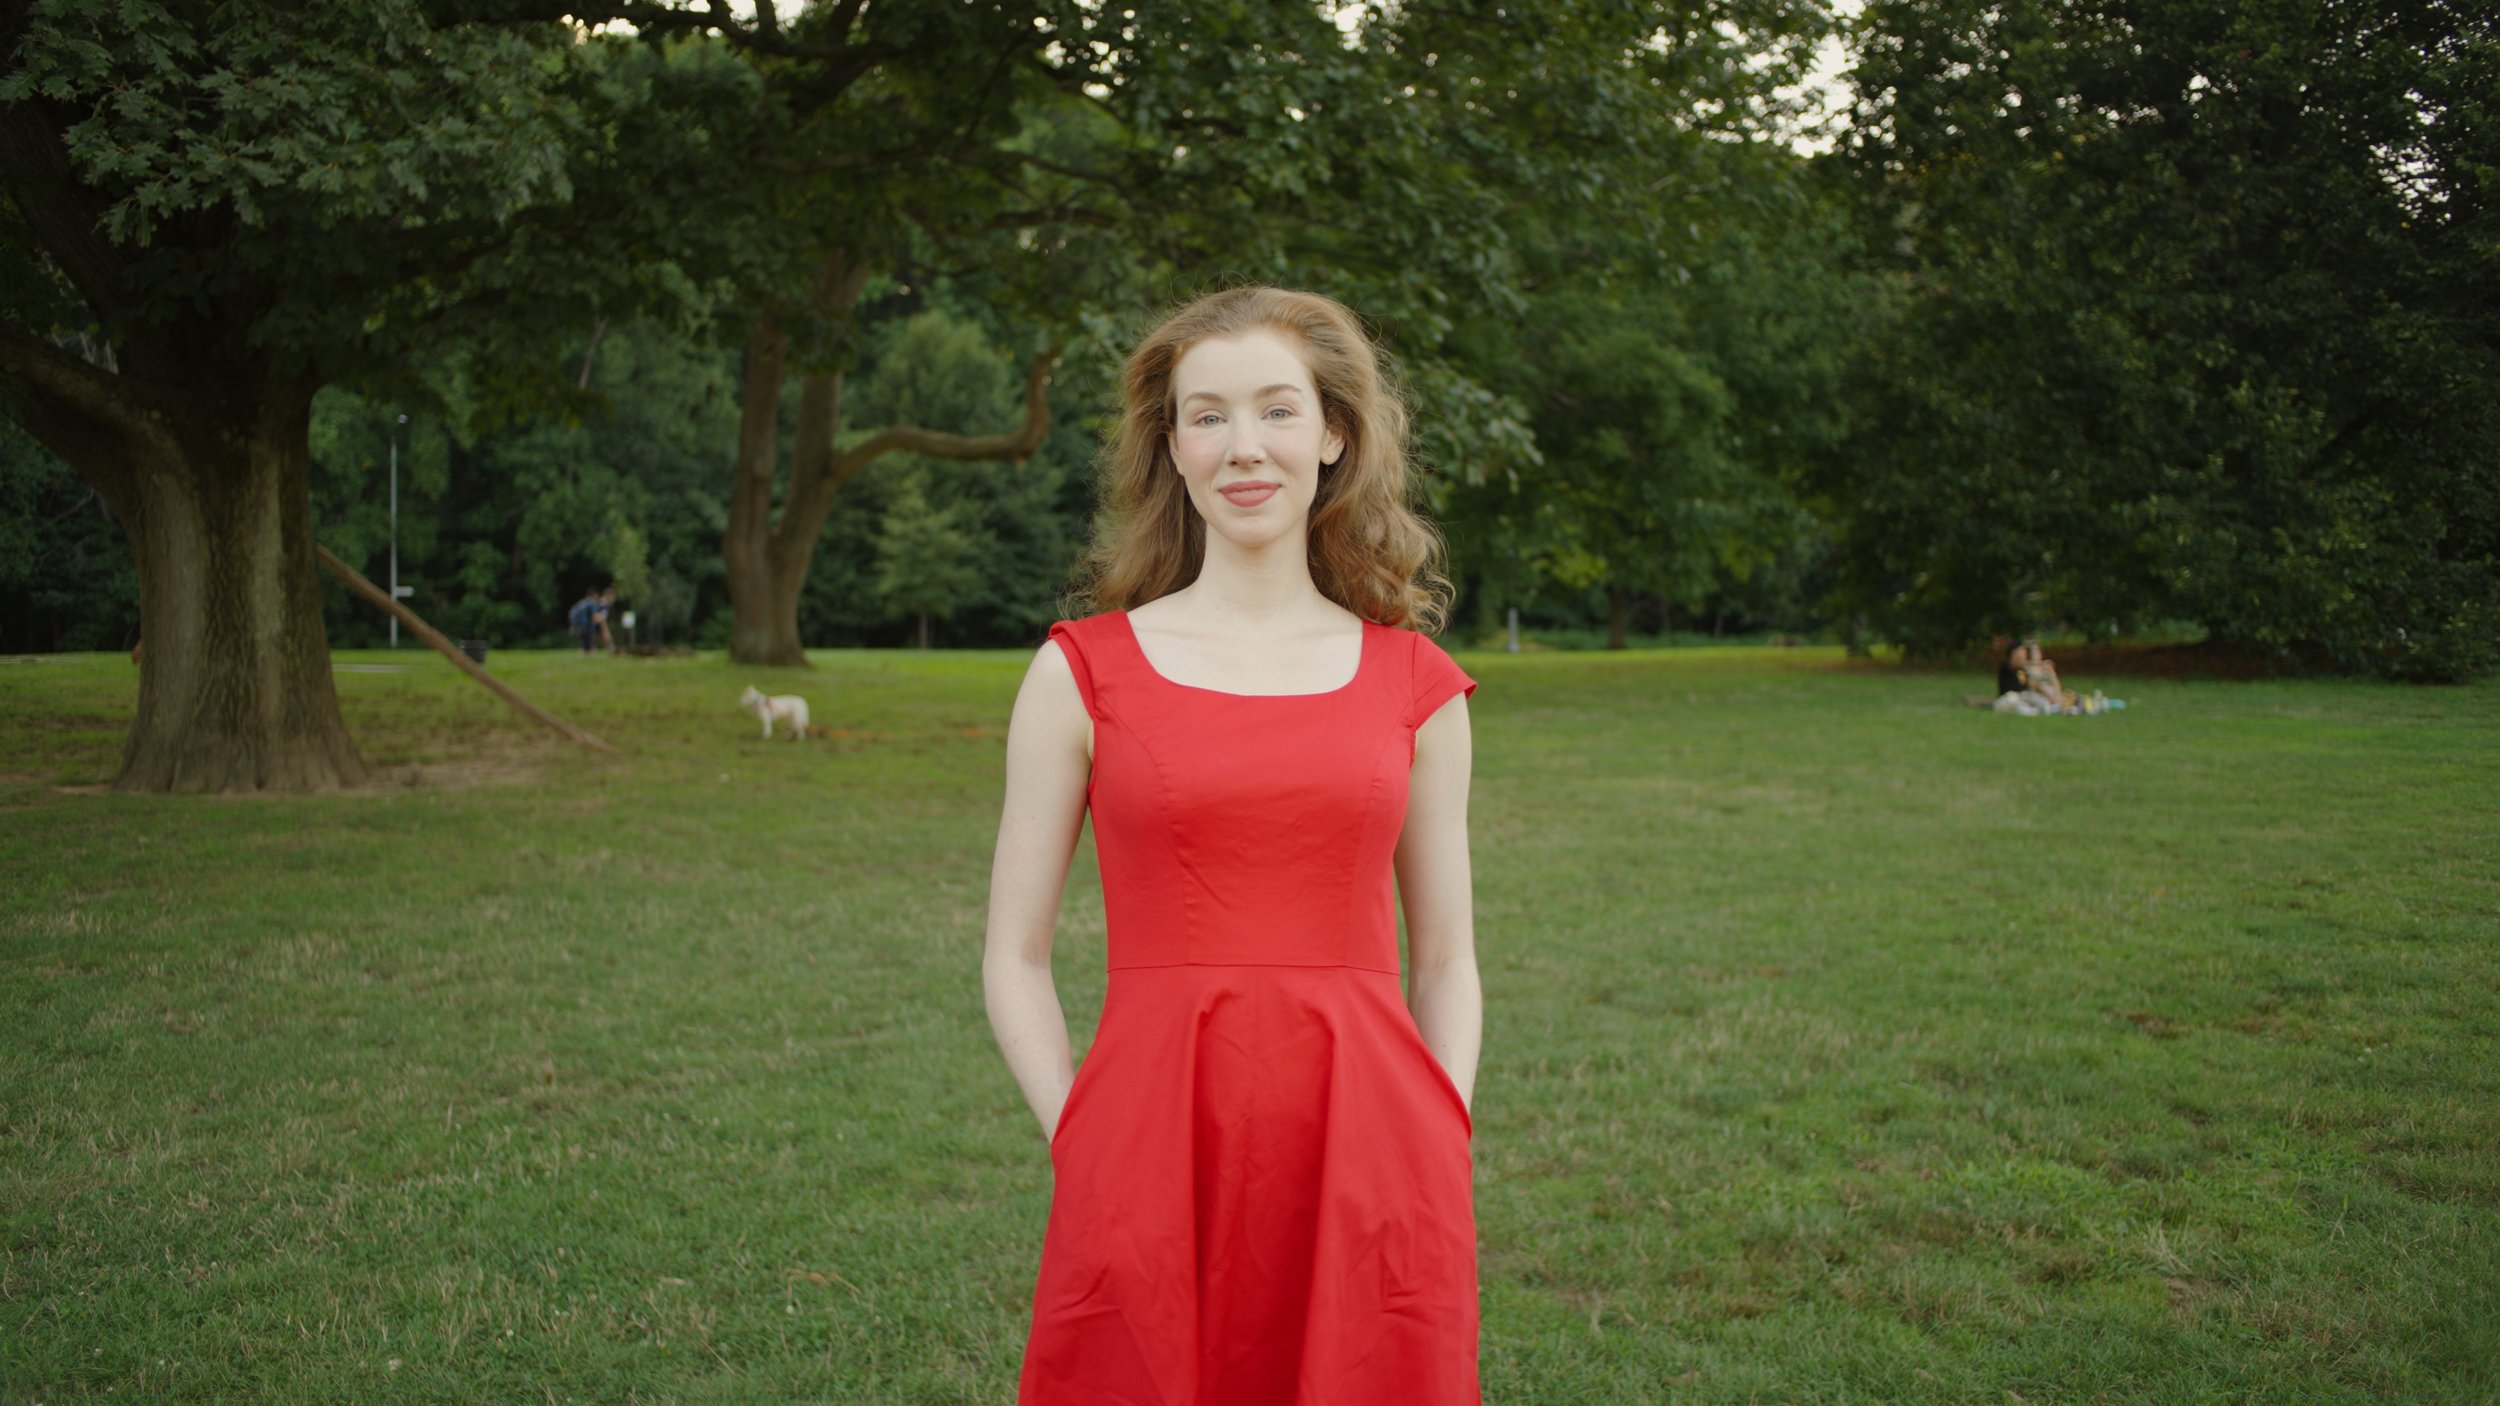
Corrected image with Offset adjustment
We can also do similar corrections using the HDR global wheel.
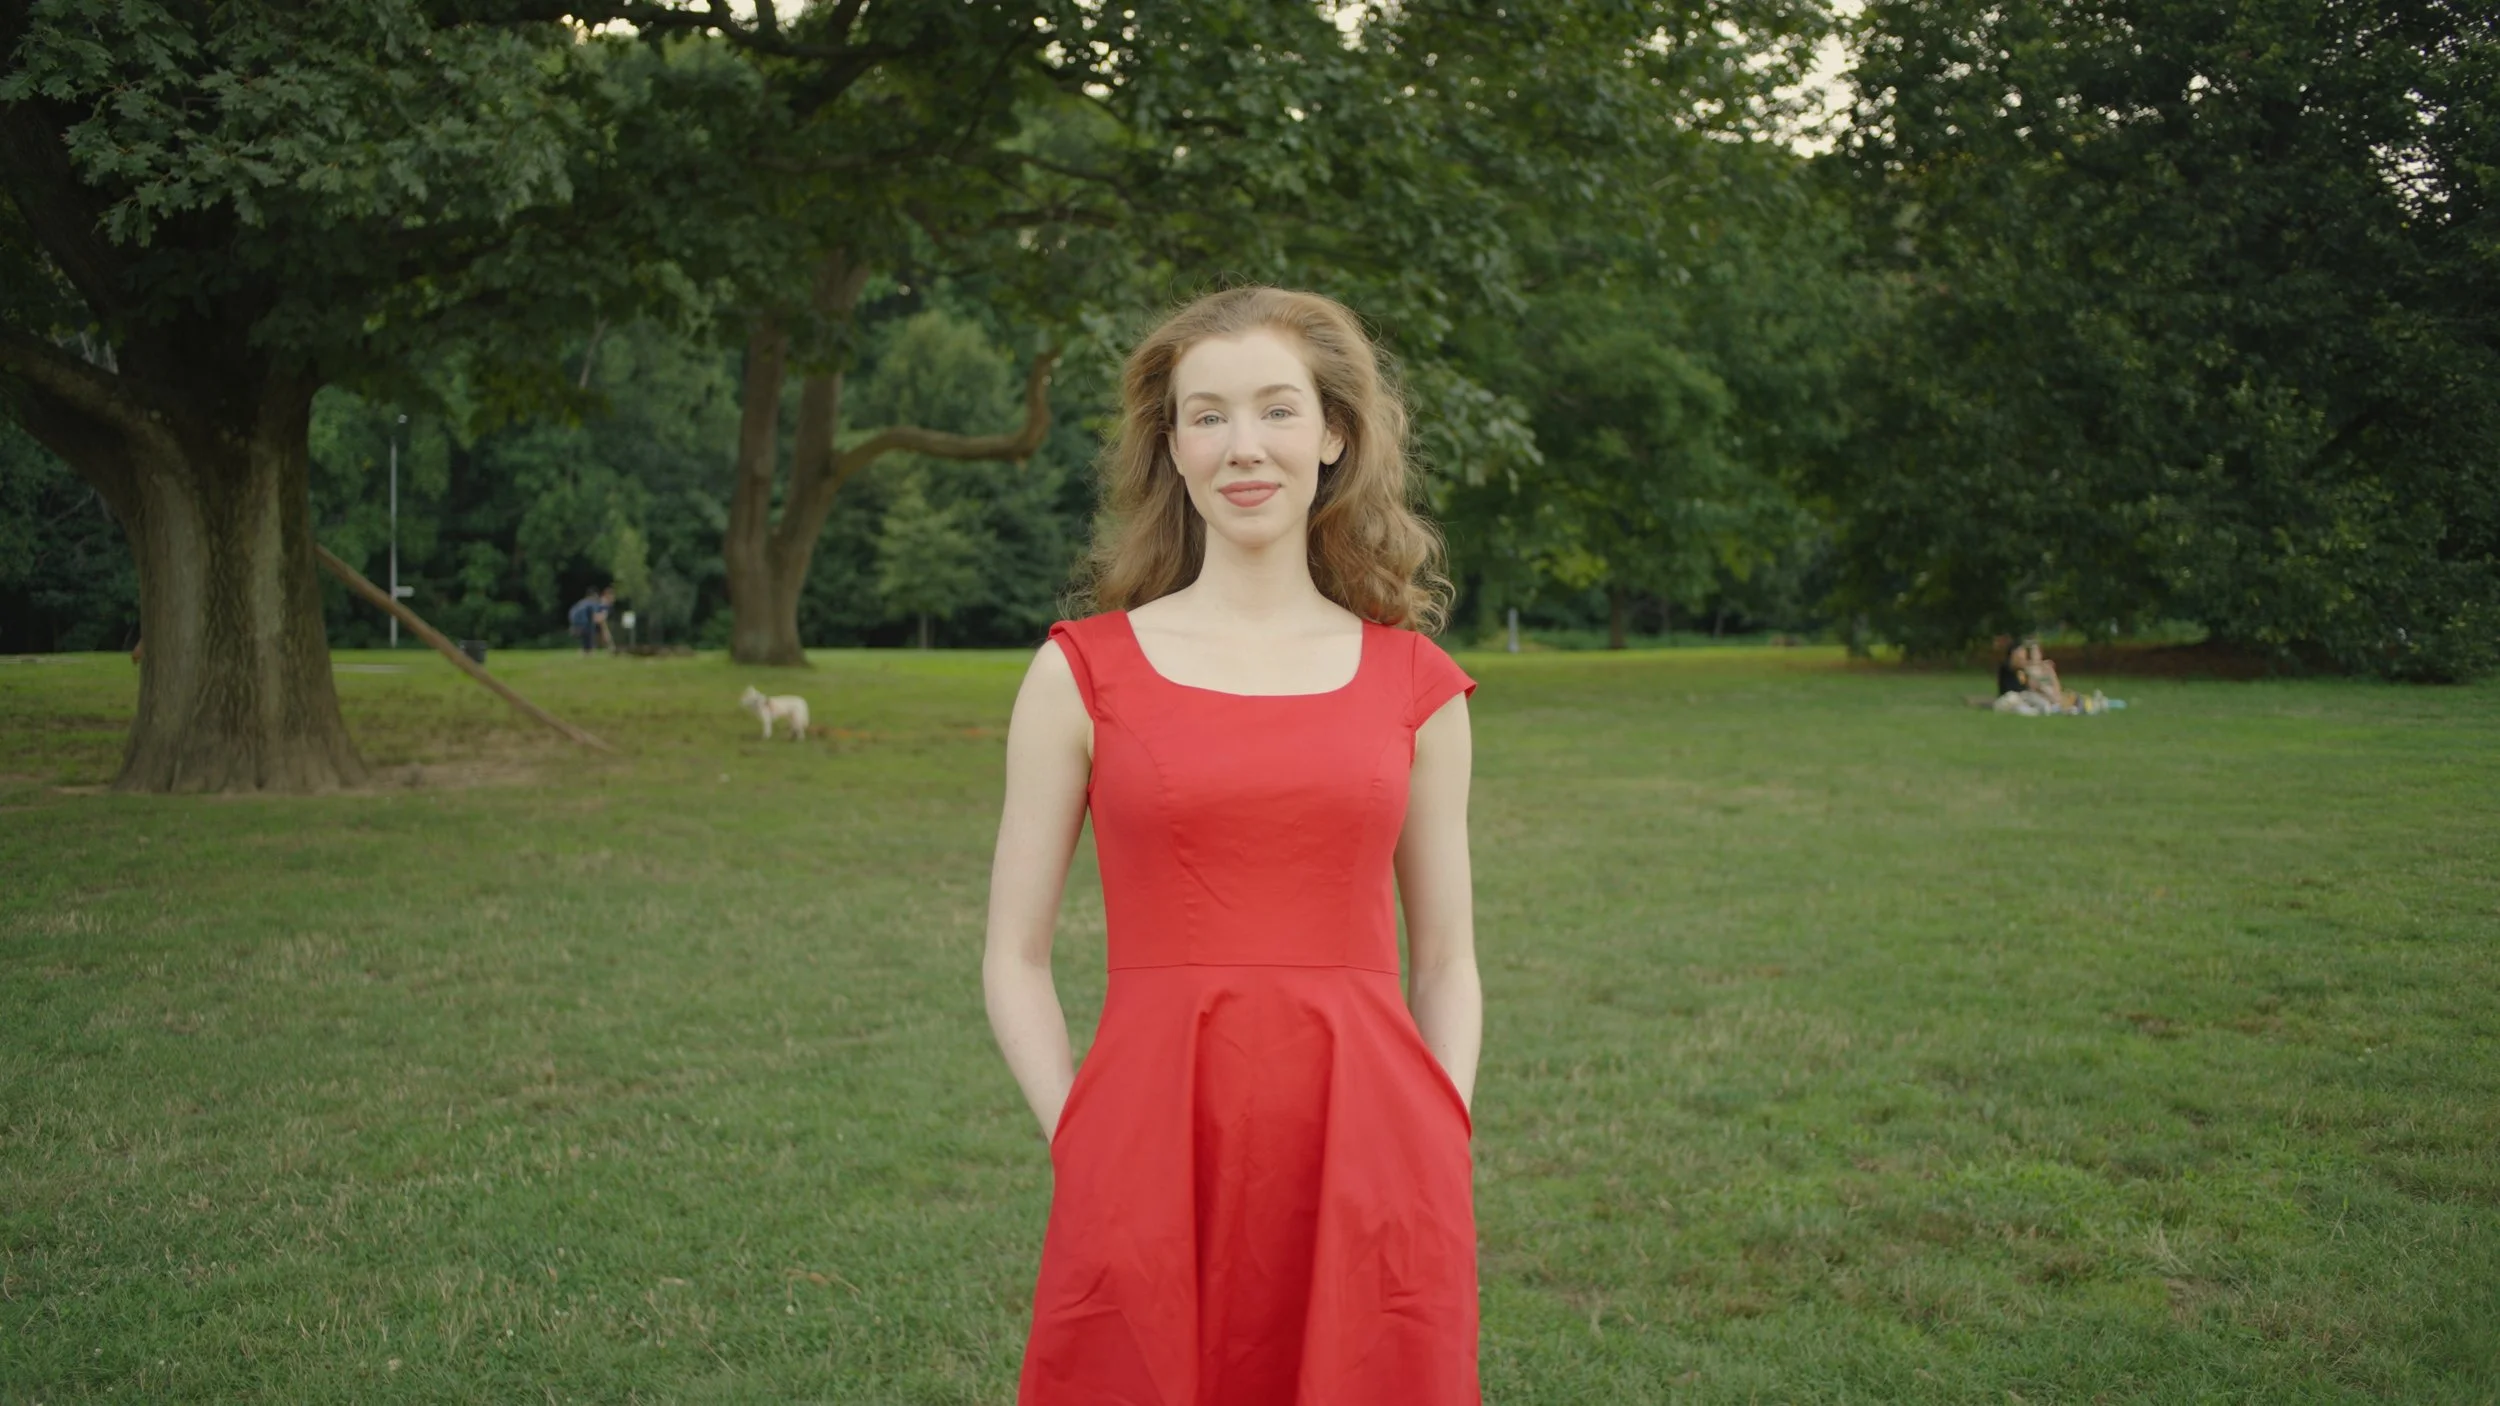
Corrected image with HDR wheel adjustment
You can see that the offset tool affects the black level while HDR Global doesn’t affect the darkest shadows beyond a certain value. You can raise the shadows if the details get crushed.
If we copy the correction after applying the LUT it will look like this.

Corrected image with HDR wheel adjustment applied after the LUT
To fix color casts in a non-destructive way and make it look organic, we do all the fixes before the LUT. After that, we can use Lift Gamma Gain, keying, and other tools for color grading.
Let’s take a look at another example. This clip was filmed closer to the sunset and because of the auto-balance setting there’s a purple color cast.
It can be corrected with a push of yellow-green in HDR Offset.
Here’s an example of the Offset tool.
The HDR and Offset wheels also work great for dealing with exposure. It’s common to overexpose the sensor to have a cleaner image while protecting the highlights. Here’s an example of a clip that was shot one stop overexposed and we see that the sky is too bright.

Sony A7S III Slog3.S-Gamut.cine with Base 709 LUT
Lowering the exposure on the HDR global wheel gives a result similar to in-camera exposure adjustment.

Adjusted exposure with HDR wheel adjustment
With this method, you can fix issues and balance the shots quickly, and keep the node structure nice and clean. Some clips might require more work and different approaches but this is the best workflow for most situations.